
Set up your icons and shapes with anchor points before mass duplicating. By taking the time from the start to embed the anchor points, linking the shapes together becomes quick and easy. Using anchor points will allow for faster adjustments to the map, and will get you one step close to becoming a network diagram master.
Example 9-1
To embed anchor points, select the shape or icon and choose the anchor point option in your tool bar.

Example 9-2
As I have already sketched my diagram, I know the direction of flow and roughly how many connection points I will need on each shape. I plan on only using three shapes for this diagram, but I want to lay the foundation of anchor points before I start duplicating.
I start by adding my three icons and saturating each with enough anchor points to effectively do the job.
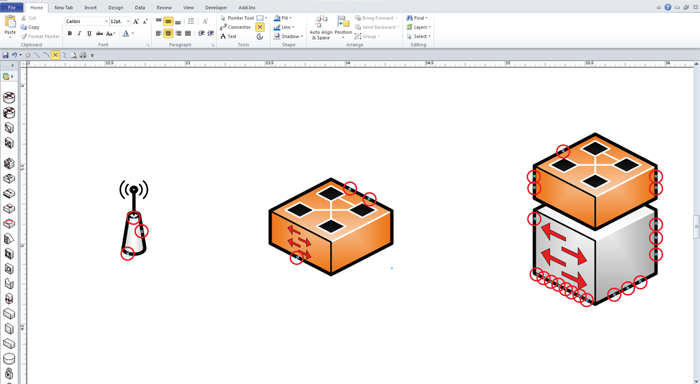
Example 9-3
I then lay out the duplicated icons (Shift+Control+right click and drag) the way I sketched it out.
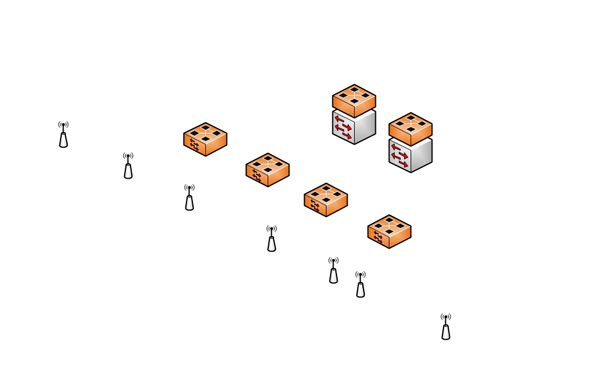
Example 9-4
With the anchor points in place, I use the isometric connector to build the Ethernet links between devices. Once you anchor both sides, it becomes simple to line up the links themselves in an orderly fashion.
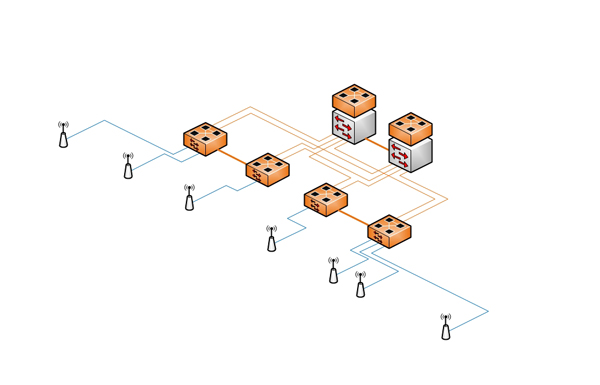
Example 9-5
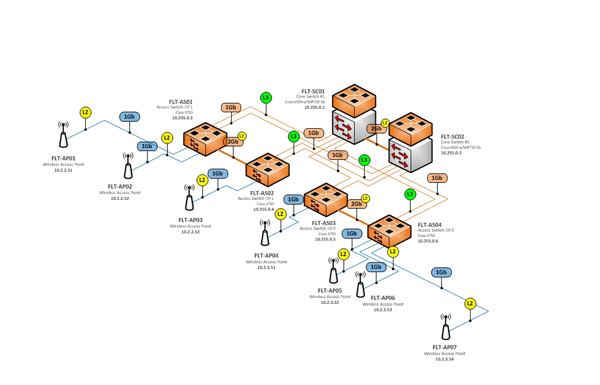
I then add my custom speed and link type (L2 or L3) graphic elements.
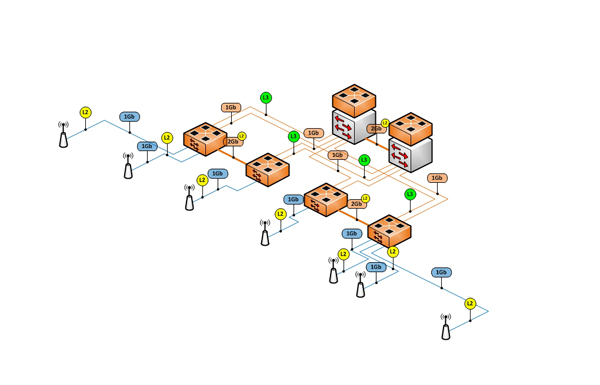
Example 9-6
The final touch is adding text. Since I used the anchor points, it would be relatively easy to make changes by dragging the icon in any direction and adjusting the link afterwards. You may still need to spend some time adjusting the visuals after moving an icon around, but will be much easier than if you had not used the anchors.
< TIPTIP >
 Diagram Store


